
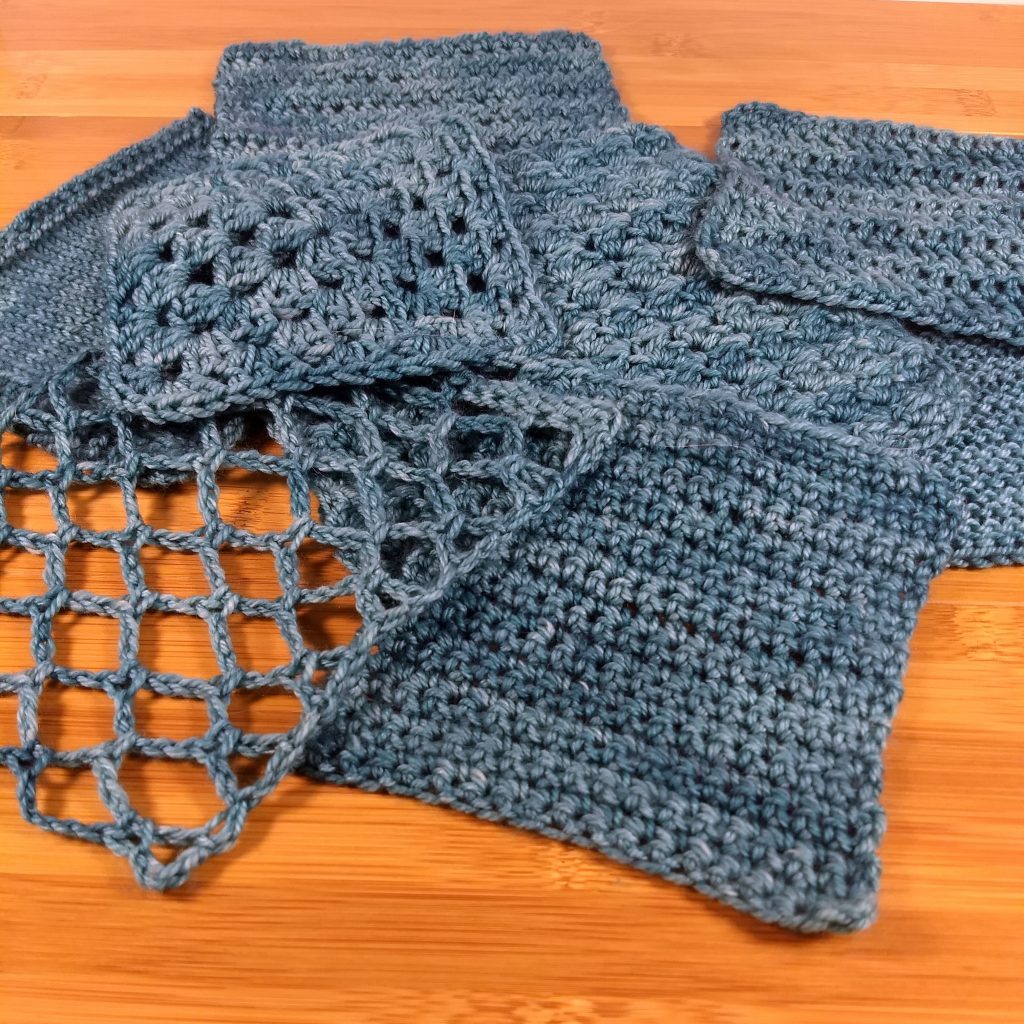
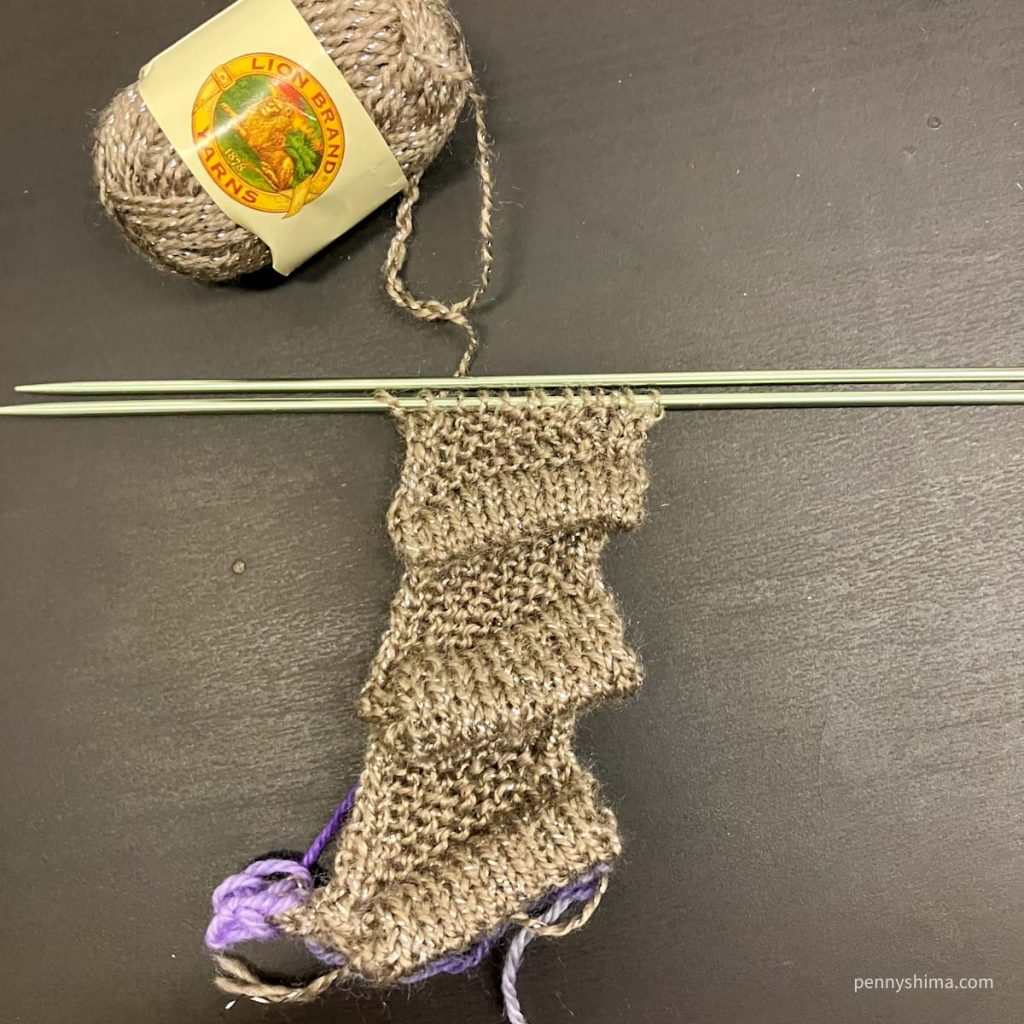
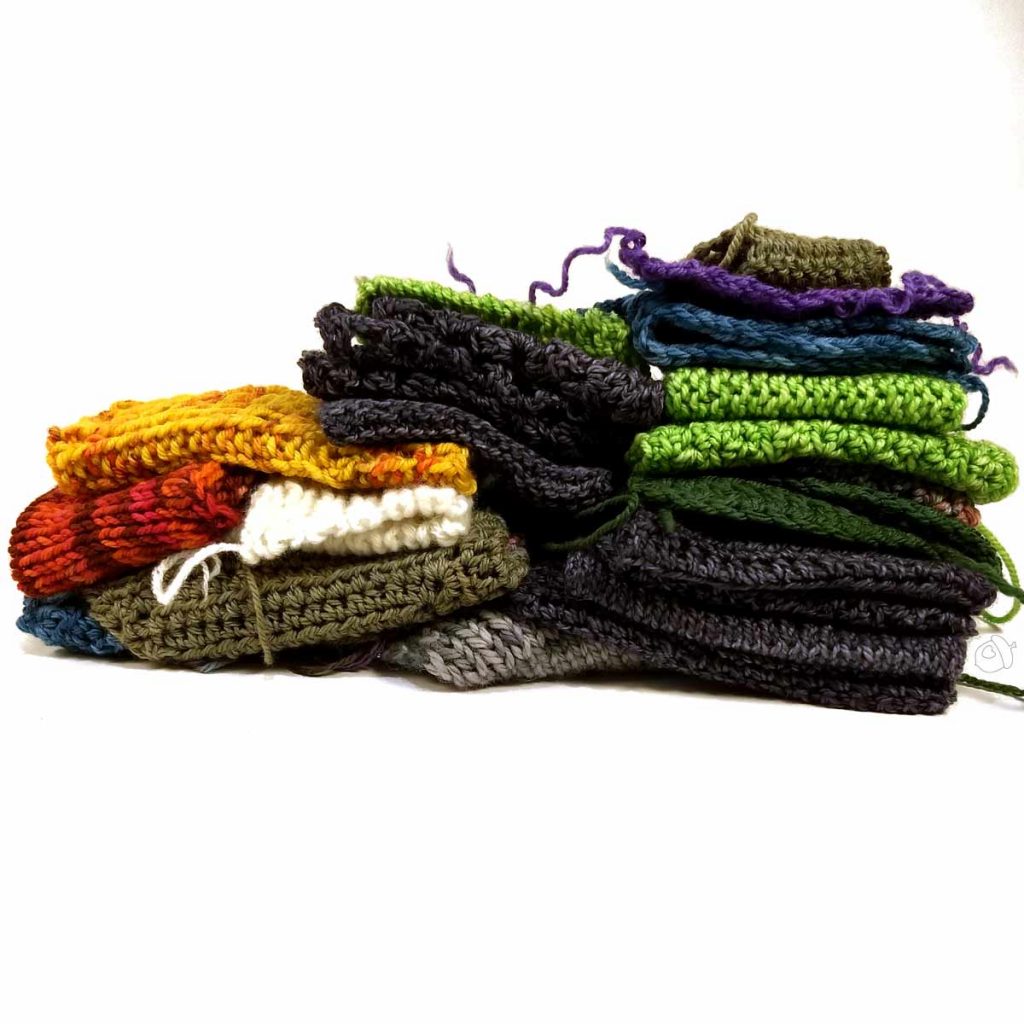
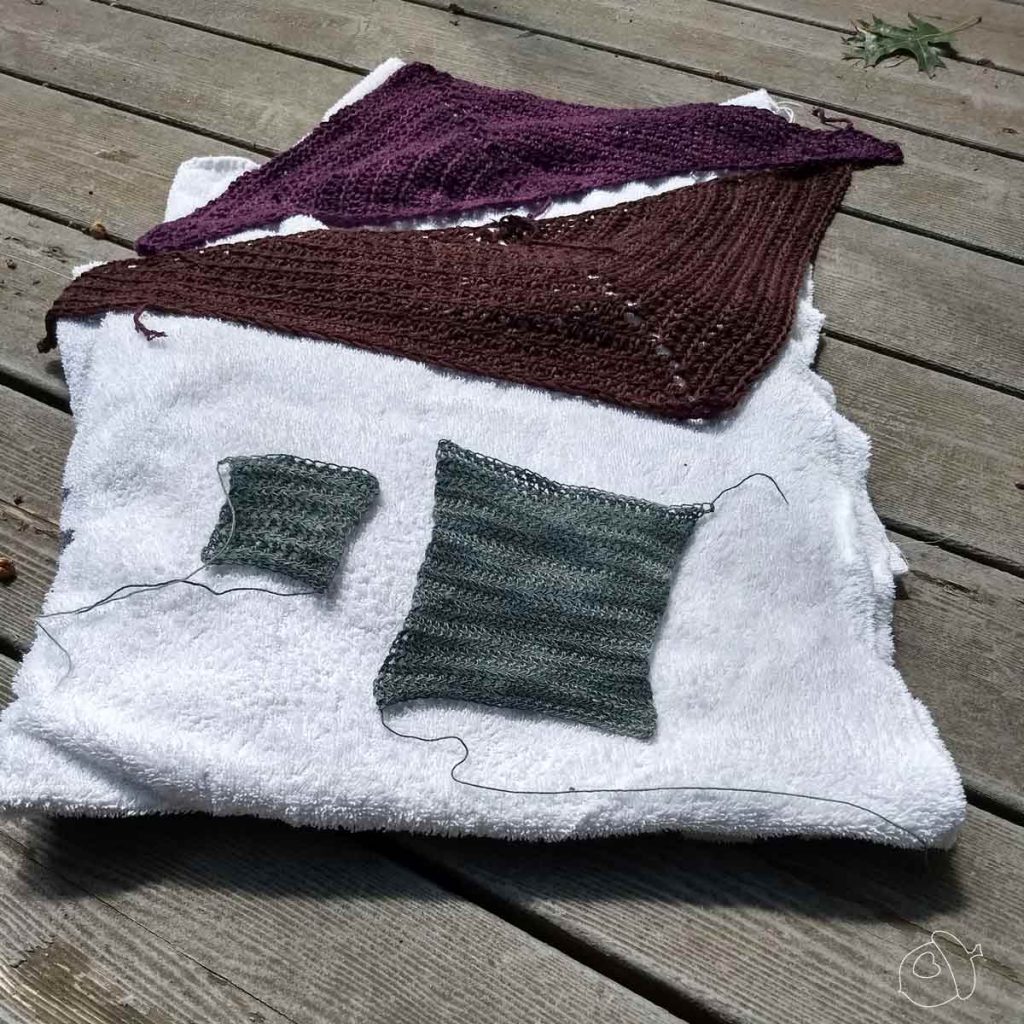
I know I’m unique in my love of swatches. Many of my swatches are for fun, aka fundamentals; they’re how I get to know a stitch, a yarn, a tool. I approach them in a manner I believe speed dating might be like. These swatches are often very small and worked quickly; I’ll frequently start with a mere handful of stitches, maybe a few pattern repeats worth at most. That quick reaction feedback matters: if I can work the stitch pattern, if I like this specific needle and yarn combination, if it’s going to work. These swatches are important, and often the first step for creating a design, or working a pattern. But they are not the kind that help me work to specific finished dimensions.
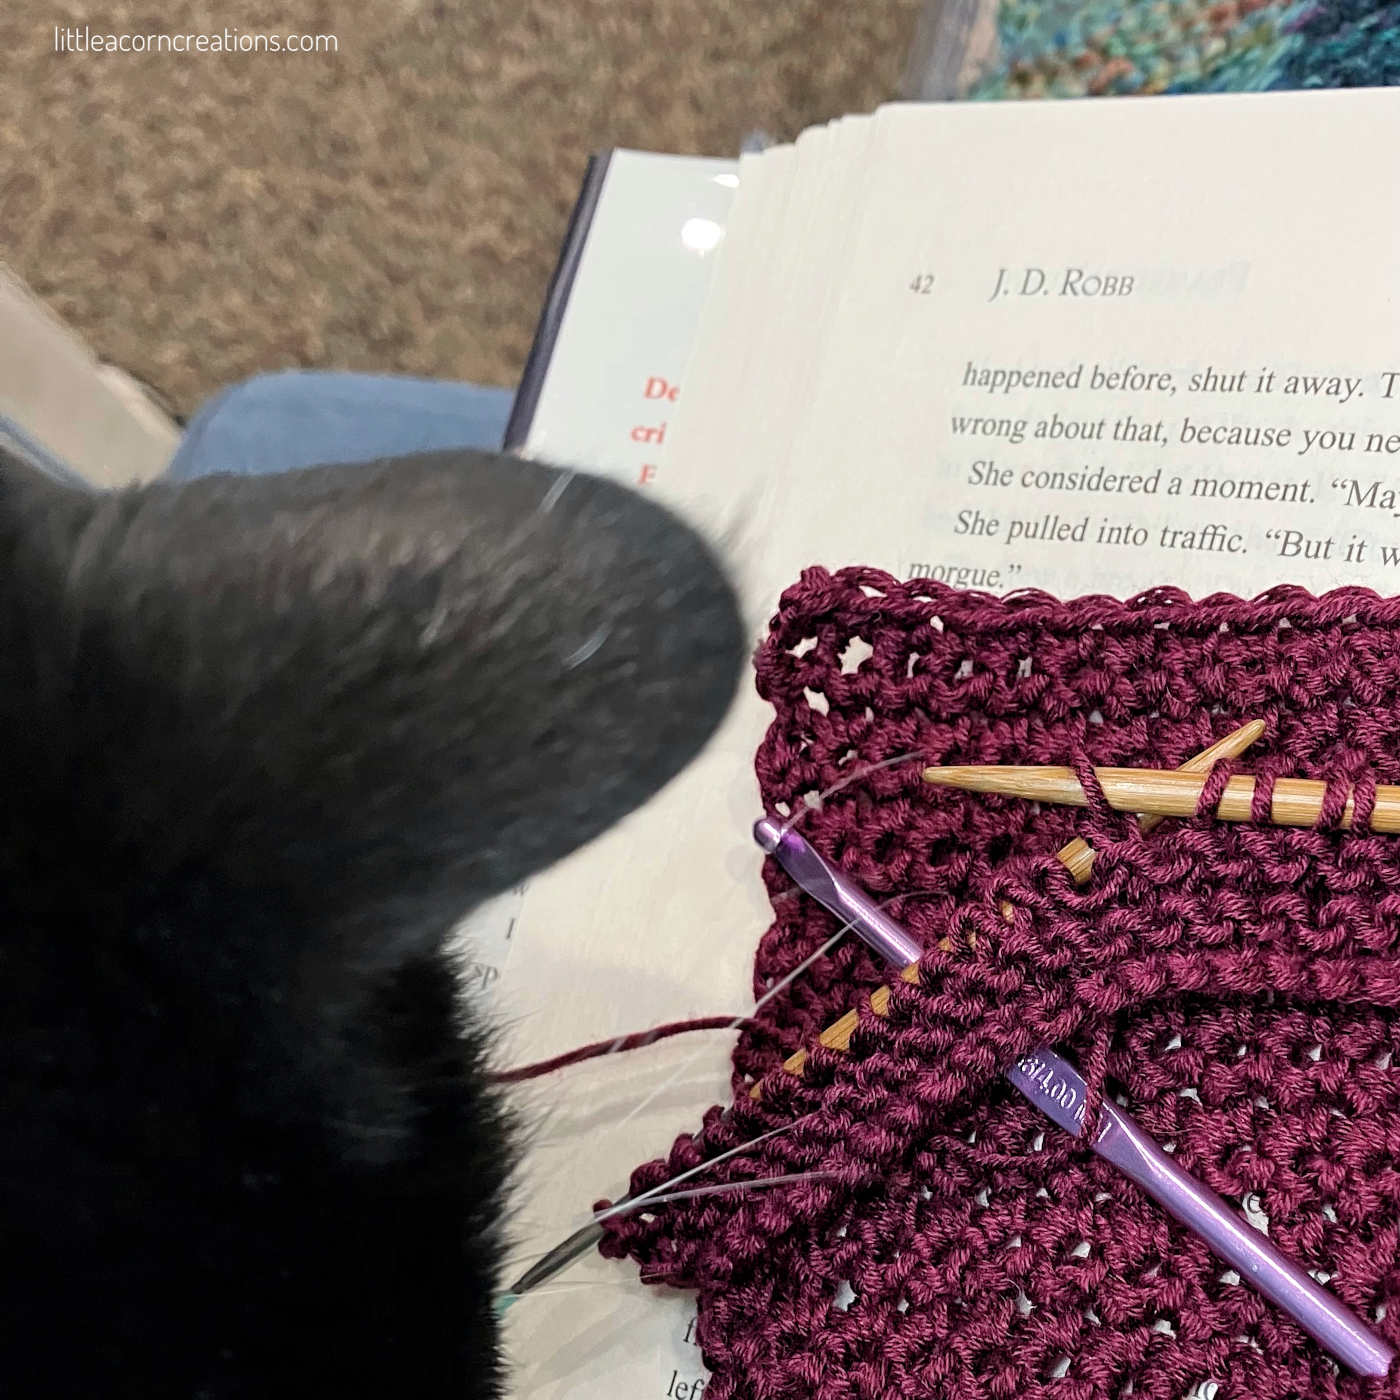
A gauge swatch, however, is completely different. It’s created to not only double check the yarn and tool combination, and likely the stitch pattern instructions, but specifically to provide numbers you can work from to determine finished measurements when this specific combination is worked. And yes, size matters here.
Both swatches matter, but they’re not exactly interchangeable. You can get an idea of numbers with a fun swatch, but I don’t recommend doing sweater maths from one. You will understand how a tool and yarn work together with a gauge swatch, but if you have no idea how one or the other might work with you, I prefer working small with a quick time commitment before I begin a full swatch.
I’ll be honest, my love of swatching is more for fun, to figure out how a combination works together. I love numbers, but when I start a new project I often just want to jump in. Swatching is important; I’m literally teaching about it in this post. But that doesn’t necessarily mean even I want to work on a boring swatch for gauge when I could be making progress.
It’s hard, but I try to work a gauge swatch before I sit to work a pattern from someone else1. And when I don’t, the only person I can blame is myself. By taking the time to figure out not just the basics of needles and yarn and pattern, but also to find out if I have to make adjustments to a pattern, I will make faster progress overall. It just might not be at the very start when the project has that new shiny feel. However, I know it’s much easier to make adjustments at the start of a project before I’ve invested hours that need to be ripped out. I’d rather learn early on that my stitches are sized very different, such that I may use yarn more quickly than to discover that when I’m at the end of my last ball of yarn and still have the back of a sweater to work.
While teaching, I hear the same swatch stories so often; I can tell them in my sleep. They’re either “I didn’t swatch” or “the swatch lied.” There’s a few variations, but these are the most common.
Why does someone decide to skip a swatch? I’ve heard it all: they knit with the yarn before and last time they used this size needle (or hook). Ok, that was a decade ago and this project is completely different (as is their tool material), but it’s the same yarn and needle size that worked before. Or, they decided that because they are using the same yarn and tool the designer did, there’s a reason they wrote that tool size in the pattern!
The second is a newer one for my ears, but it’s a similar variation: they begin by making a base row (or cast on) with the exact tool size and stitch count for four inches (ten centimeters) and working the number of rows specified in the pattern line that says “gauge”, then measuring at the end to see if that’s four inches wide.
Neither approach is wrong; however, they explain why the finished item in these two scenarios might not be what the maker (or designer) intended.
It’s the second swatch scenario that is the focus of this post.
When you swatch for fun, you can do whatever you want; ten stitches, five rows, that can be the entire swatch. I’ve been known to start a swatch and stop on the first row, because I quickly determined there was a mismatch of some sort. That was a swatch too.
However, when you swatch for gauge, you can also do whatever you want, but if you want this swatch to not waste your time and provide useful data, there are several things to keep in mind.
The ball band and the pattern likely each have a line somewhere that reads something like“X stitches and Y rows in pattern Z for four inches or ten centimeters”. That’s not the size of your swatch. That’s a target stitch count for a finished fabric. Yes, the four inches seems arbitrary at this point, I have some guesses about why. I believe that it’s been inherited from old conventions 2 and carried on, more tradition than science. Cue Tevye.
If you’re working in a yarn that is lighter than a worsted weight, I suggest swatching at least a six inch square; for worsted and bulkier, eight inches 3(or 20 cm).
If the designer is mindful, they’ve appended to the instructions that specify needle or hook a short phrase, “or size needed to obtain gauge.” We are human and how we knit and crochet influences our fabric. For example, I began as a very tight knitter, now I’m often quite loose and need a much smaller needle than suggested.
The four inch (or ten centimeter) window shouldn’t be ignored, though; it’s useful in a different way. Measure across just one inch and any inconsistency, a slightly tighter or looser stitch, throws your number off. Counting stitches and rows over a larger measurement lets those wobbles average out. There are many tools that cover four inches; there are newer ones built for just one. Whatever tool you choose, please take three or four readings across the swatch, near the beginning and the end, in the middle, on each side, and see how closely they agree. One reading is a snapshot. Several readings can become truth. If your gauge is very far off at one point, try to figure out if that’s a rare anomaly, or if you’re consistently having issues with a specific aspect of the stitch.
Let’s not completely ignore blocking. First, before you do anything, measure the stitch and row counts. Please don’t stretch your swatch and make sure it’s a perfect square. Simply lay it flat as you would while you are working to see how much you’ve knit or crocheted. This set of numbers will be useful too. When you do block, please do so in the way you plan to wash the finished piece, and let it dry and rest the way it will actually live. I sometimes even hang my finished and dried swatch to see if it will grow or change shape (this is more common with plant based fibers).
What is “light blocking”? When I specify that, do not pin aggressively to make it a specific shape, just wash, gently pat into place, and let it dry.
Now that you’ve blocked the swatch, take another set of measurements much as you did the pre-blocking set. This is the set of numbers you should compare to the pattern instructions suggested gauge.
In the future if there’s interest (or I hear enough questions about it), there will be more posts on this topic. If you have been having swatch issues and need more immediate guidance, lesson slots are available. Honestly, I don’t think I’ll ever run out of things to say about swatching.
Three things to keep in mind for a gauge swatch
- Size: In this, bigger is better. Create a piece of fabric that is at least six inches square for yarn weights lighter than worsted, eight inches (20 cm) for worsted and bulkier.
- Multiple measurements: take three or four readings across the swatch, near the beginning and end, in the middle, on each side, before you trust the number. And do so both before and after blocking.
- Block as you mean to go on: wash and dry it the way you’ll treat the finished piece.


Additional resources
- Patty Lyons, Knitting Bag of Tricks (David & Charles, 2022), Chapter 2, Gauge. Find a copy at bookshop.org (affiliate link, supports my work)
- Swatch for fun(damentals)
- A swatch can teach you more than a ball band
- 3 tips for washing wool
- Swatch Worksheet (free 3 page PDF download)
Leave a Reply