
While Judy’s Magic Cast On (aka JMCO) is one of my favourite techniques, it’s taken until now for me to write about it here. This cast on was introduced to many knitters by Judy Becker in the Spring 2006 edition of Knitty, as a technique for toe-up socks. As with many ideas it developed a life of its own and Lorilee Beltman suggested it as a tubular cast-on in the First Fall 2006 edition of Knitty as a “Hey Try This” column adding it’s a “Tubular Cast On without waste yarn nor crochet hook”. It’s a technique I’ve used in my own designs.
This tutorial will be the basic vanilla flavour version. Please use Judy’s tutorial at Knitty if you want a quick introduction to the stitch. I will highlight areas where I’ve seen knitters get frustrated or had to re-do things myself.
One key thing to know if you’ve never worked this technique before is that half of the stitches are twisted on the first round and you have to knit them differently than normal to work them untwisted. If you are unsure how to identify which is the front or back leg of a stitch, Jill Wolcott explains of parts of a stitch.
This cast-on requires three DPN needles to work. You can absolutely do this with two circulars. Depending on how many stitches I’m working, personally I prefer to cast onto DPNs and then transfer to two circulars or use magic loop after the set up and first round are complete.
I refer to them here as needle A and B. Needle A is “on the top” and B is “below”.
Set up
Measure about 3 times the length of your desired cast on1.
Make a slip knot2 to attach the yarn to your top needle, needle A.
Hold yarn in a triangle with the tail over your index finger. This is similar to, but not the same as for, long tail cast on. As you add your stitches you will move the yarn from the outside of your needles to the center forming each loop.
Add Stitch Step 1 Make a loop around needle B from the outside of the needle toward the center with the yarn on your index finger. Pull it snug, but don’t choke the needle.

Add Stitch Step 2 Make a loop around needle A from the outside of the needle toward the center with the yarn on your thumb. Again, pull it snug, but don’t choke the needle.

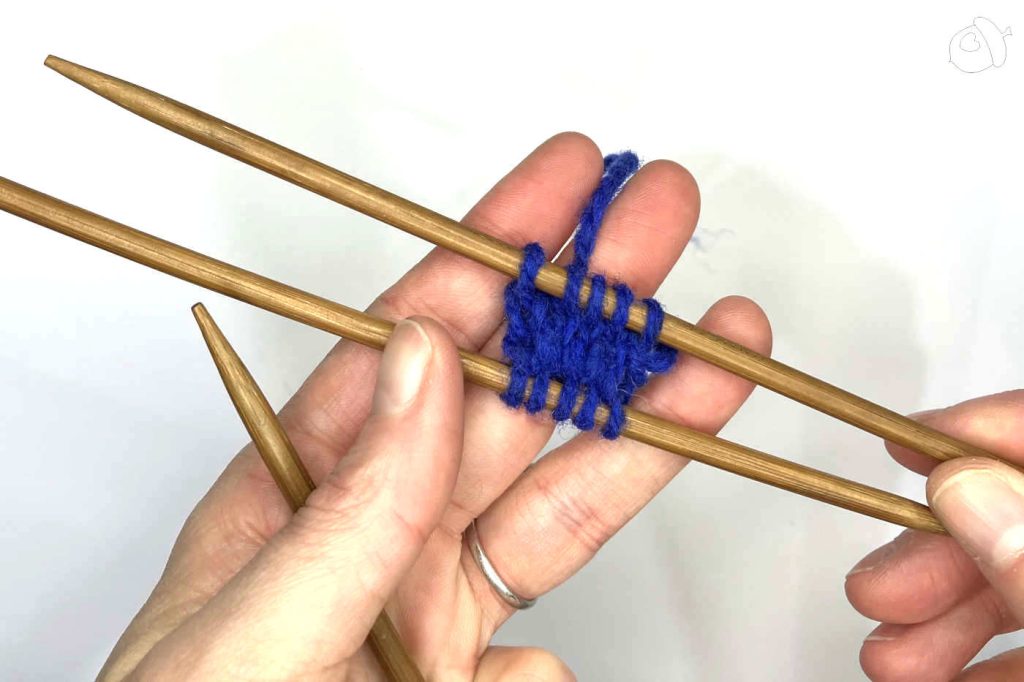
Repeat Add Stitch Steps 1 & 2 until you have the total number of desired stitches cast on. Half of your count will be on needle A and half will be on B.
In this tutorial 10 stitches were cast on, 5 on each needle.
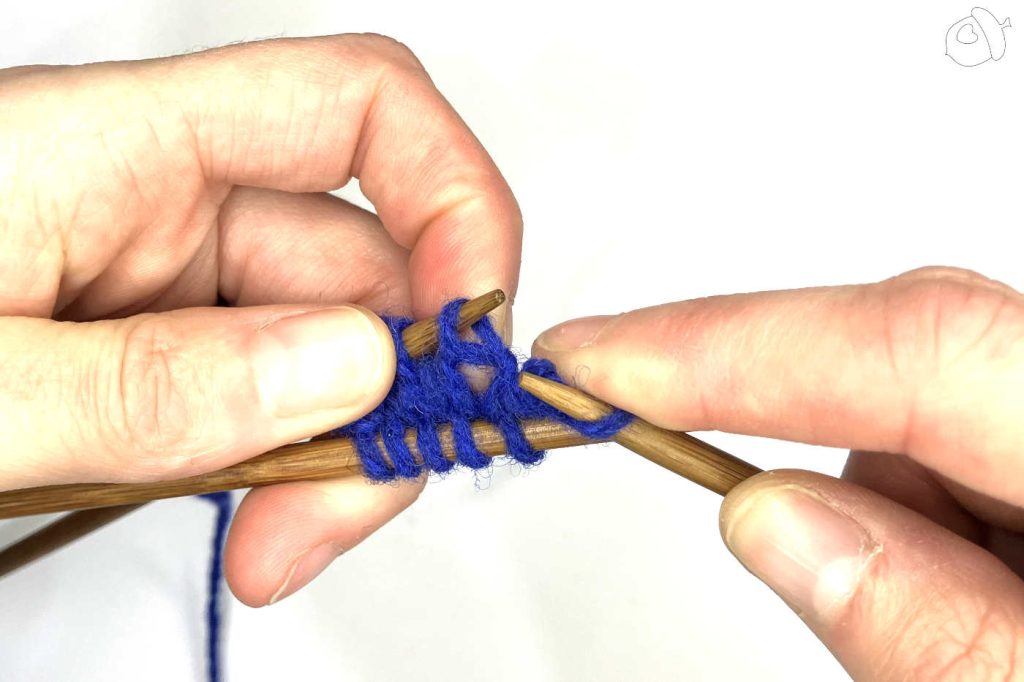
First Round, knit needle A sts
Drop your yarn tail but put it between your needles and the working yarn. This will help to form that first stitch. Rotate the needles so that needle B will be ready to work.
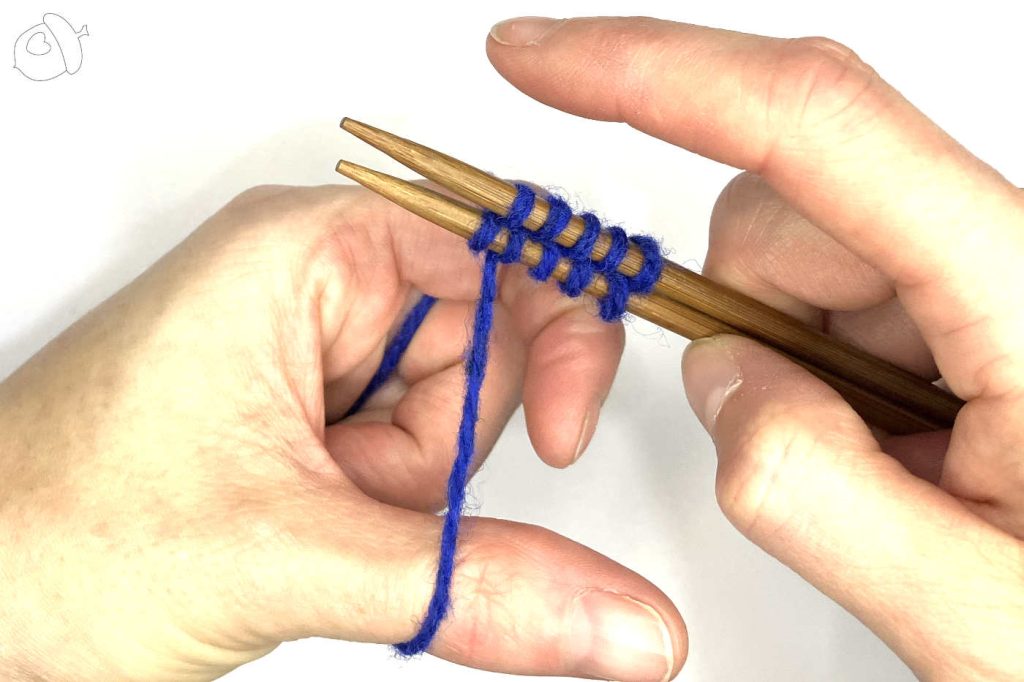
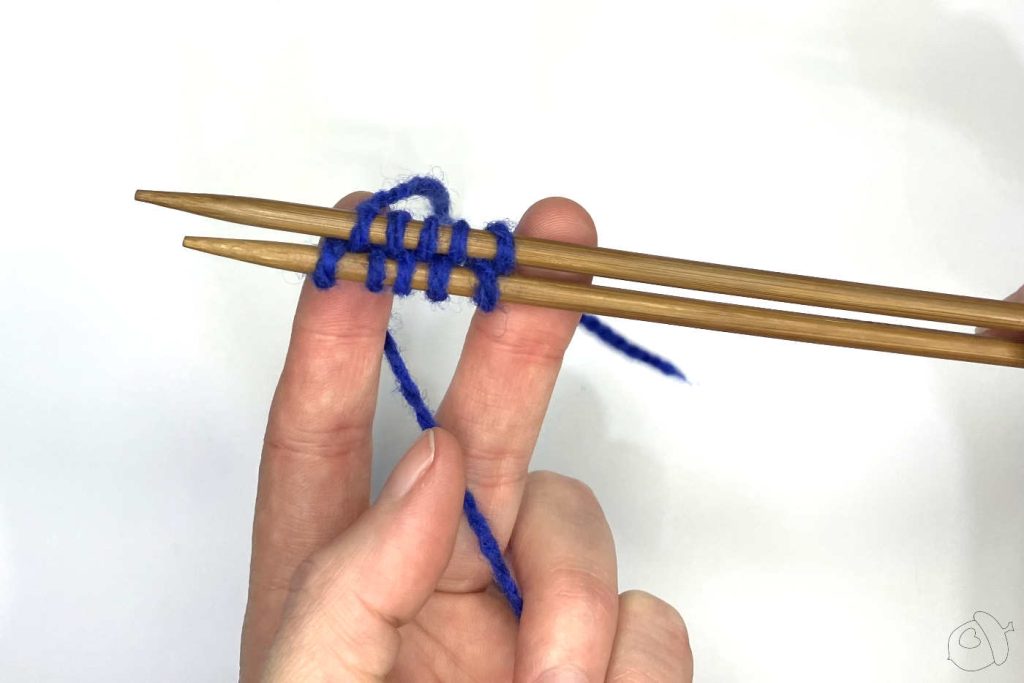
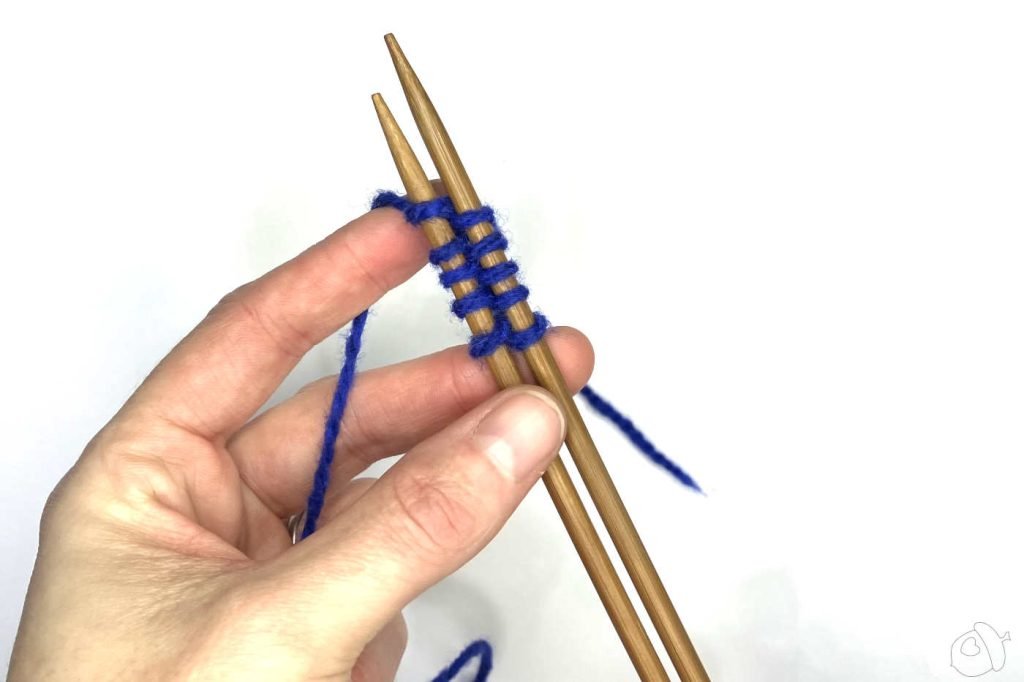
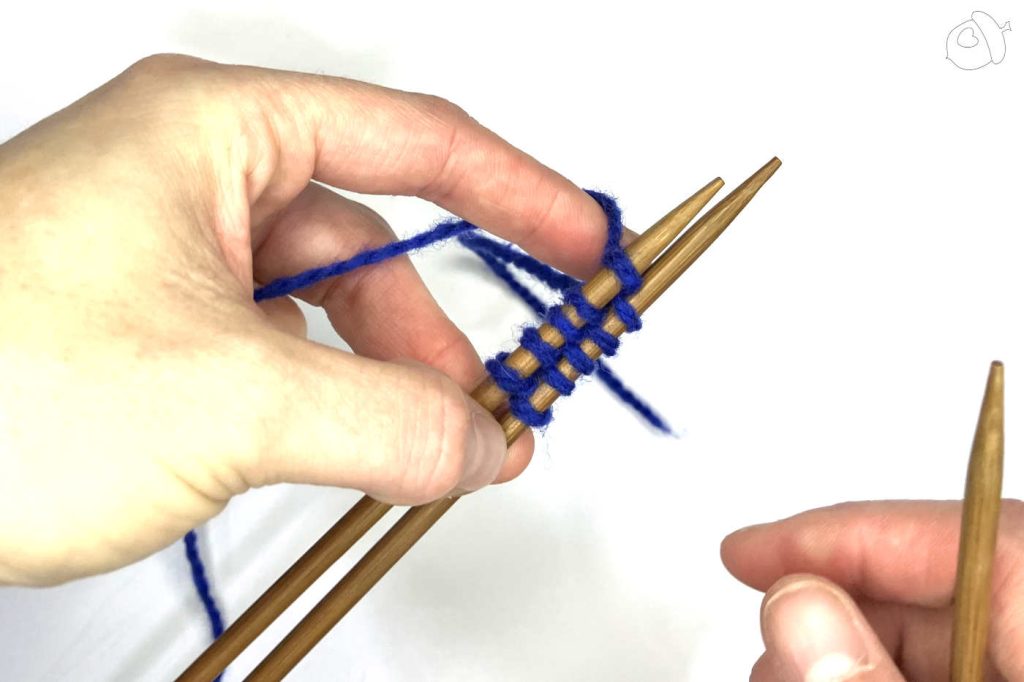
Work these stitches across. This should feel normal.
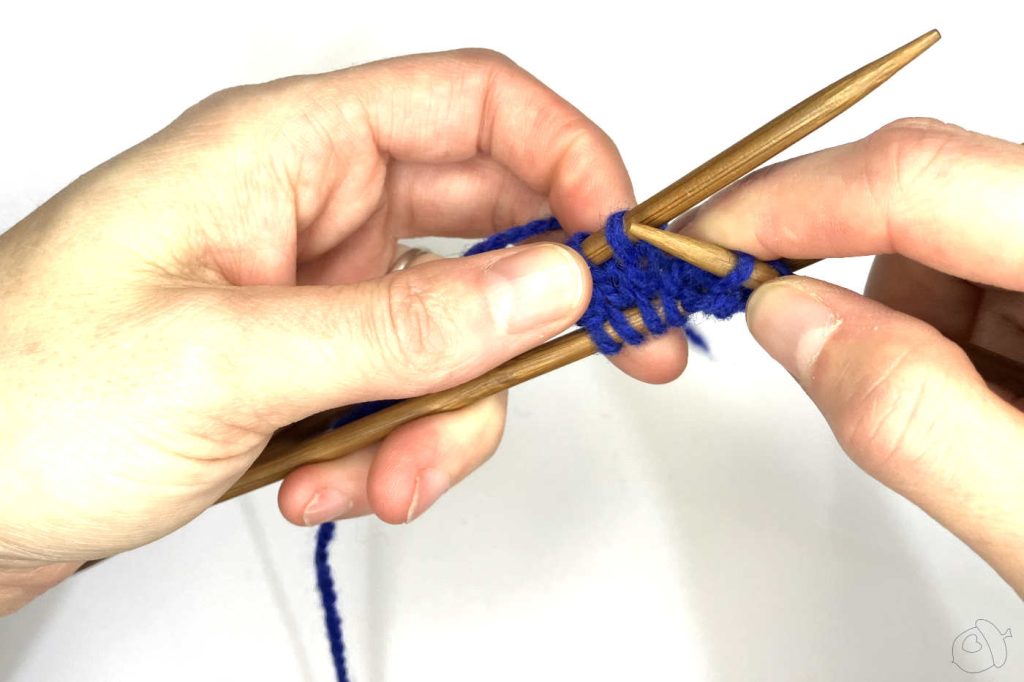
First Round, knit needle B sts
Turn (rotate) so now needle B is on top and the stitches are ready to work. This is the tricky round and the stitches are twisted on the needle. Make sure to knit these through the back loop to untwist him. This is the only time you will need to knit the stitches differently. After this they will sit as expected on your needle.

Next Rounds & Next Ideas
Work your next rounds as indicated in your pattern, increasing if indicated.
These next rounds are where things can get interesting with this magical cast on.
You can turn it into a tubular cast on as Lorilee Beltman suggests in her 2016 Knitty column. It’s been a long time since I’ve last done it. Please swatch, but I think I suggest using larger needles with good pointy tips because it gets a bit tight to work.
JMCO can also be used as a foundation to create spherical shapes; in this case you leave a long tail and on the first increase round hold it together with the working yarn. For In the next round each loop is knit separate. It’s a simple and quick way to work the increases. A certain Robin told me it works quite well, cheeky little beggar he is.
A similar yet different technique can be found in The Principles of Knitting (revised ed) by June Hiatt. In this tome, on page 59, it’s called the “Alternating Provisional Cast-On”.
Really that’s all there is to it!
- The calculation of length for the tail is debated and formulas have been proven by many different knitters. I’ve found that overall this number works and I don’t have to think too much. ↩︎
- Do you need to use a slip knot? If you are comfortable with a twist start, go for it. I find the slip knot keeps things more secure and honestly it disappears in the fabric. ↩︎
Leave a Reply